You've signed up and your kit has arrived, now it's time to complete the next steps.
Click it
-
Sign-up and order your kit
Complete it:
-
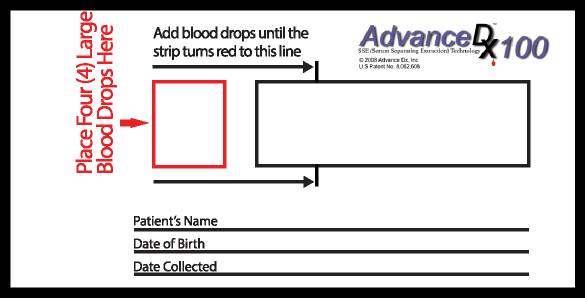
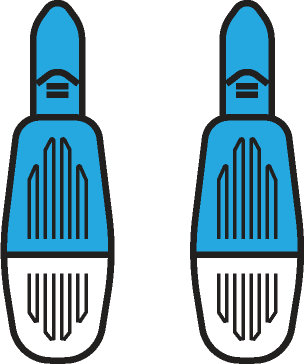
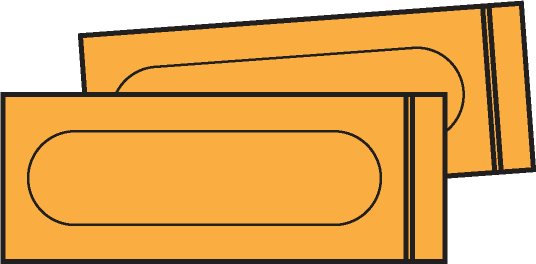
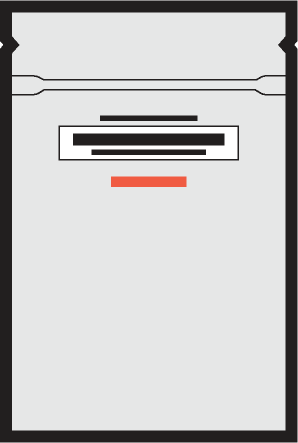
Labs
-
Health History (via portal)
-
Biometrics & Vitals (via portal)
Attend it:
-
Schedule appointment (you will be sent a link when all other steps are completed)
-
Consult with provider via video appointment